


How can a new budget be created?
Creating a new budget involves defining its scope, setting the core parameters, and configuring how transactions are counted against the budget limit.
Check out a guided video tutorial on creating budgets here
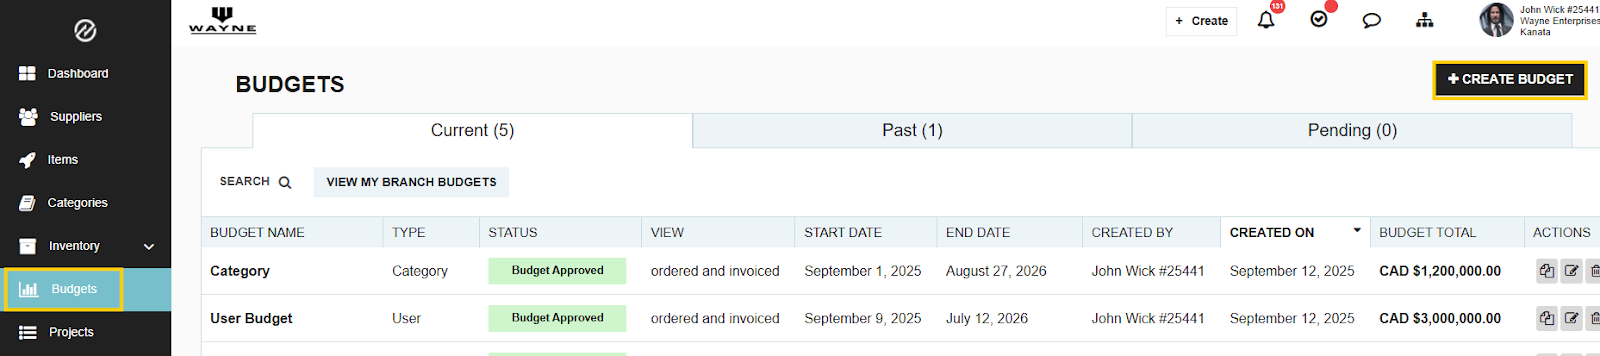
Start by navigating to Budgets on the left-hand navigation bar, and then click "Create Budget" in the top-right corner.
1. Define Budget Scope and Type
- Branch Selection: First, select the specific branch this budget will apply to.

- Budget Type: Choose the main way you want to track spend. Budgets can be categorized by:
- Departments
- User
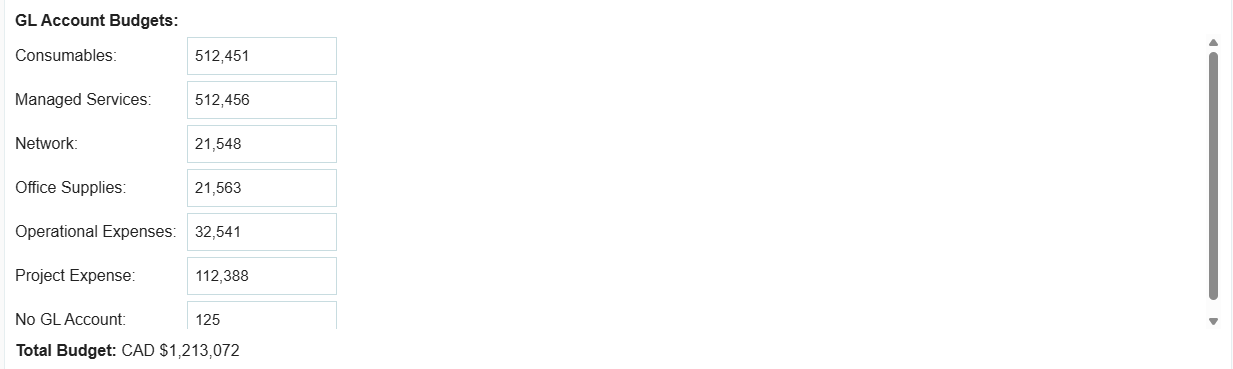
- GL Account
- Item Categories
- Budget Detail (Optional Sub-Type): For a more granular view, use the "Selection" dropdown to specify a single entry (e.g., a specific department). You can then select a Budget Sub-Type (User, GL Account, or Item Category) to break down spend within that main entry.

*You do not need a budget sub-type to create the budget
2. Core Settings and Timeline
- Enter a Budget Title.

- Verify your Budget Currency (this will default to your account currency).

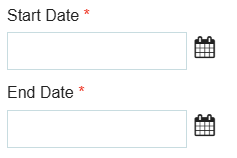
- Select the Start and End Date for the budget (the maximum period is one year).
- Enter the specific Budget Amounts for each relevant field.
- You can optionally enter notes, which will appear when viewing the budget reports.

3. View Options and Inclusions
You must choose how the spend will be tracked, along with what types of transactions will count against the budget.
- View Options: Select one of the following methods for tracking spend:
- Ordered only
- Ordered and Invoiced
- Ordered and Received

- Additional Budget Options: Select the transaction stages that should be included in the ordered or invoiced amount:
- Include Pending Transactions (in the ordered amount)
- Include Requisitions (in the ordered amount)
- Include Expenses (in the invoiced amount)
- Collapse the ordered amount to the invoiced/received amount for closed POs
- Cap the spending: Check this box to prevent users from creating any transaction that would cause the budget limit to be exceeded.

4. Permissions and Finalisation
- Budget View Permissions: Select who can view the budget reports: All users with permissions to view budgets or Assign specific users the ability to view this budget.

- Once all details and settings are complete, click "Save Budget" to create the budget.
If there are budget approval rules, approvers will be notified. If not, the budget will be active immediately and will begin tracking transactions within the selected timeframe.
Thank you! Your submission has been received!
Oops! Something went wrong while submitting the form.
.webp)
.png)


